ER Hydraulic Compensation
Chucks for Precision Machining
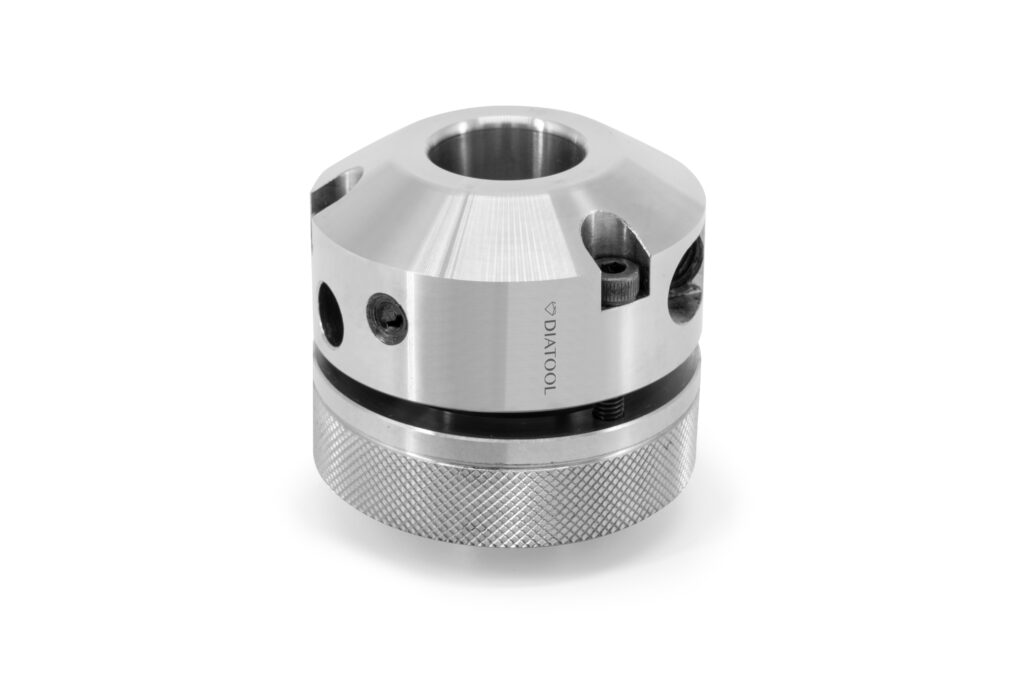
Diatool’s ER Hydraulic Compensation Chuck is an innovative solution that converts ER collet systems to a hydraulic interface, maximizing precision and reducing run-out.
Product Highlights of ER Hydraulic Compensation Chucks
- Adapts to ER collet chucks from ER20 to ER40.
- Adapt your current ER collet systems to use hydraulic clamping with compensation adjustment. Hydraulic clamping provides repeatable total indicated run-out of cutting tools without constant radial adjustments when worn tools are replaced.
- It’s a one-time setup. Since it’s a hydraulic application, there’s no need to re-indicate for every tool change.
- Adjust for any spindle run-out, ensuring maximum accuracy for tight-tolerance reaming or drilling applications.
Easy Installation
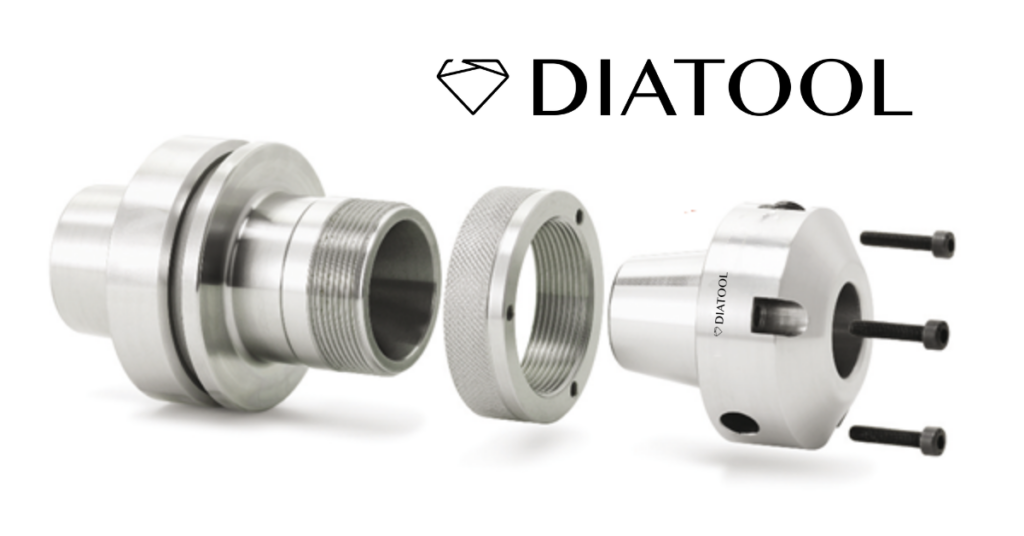
Diatool’s ER Hydraulic Compensation Chuck installs in minutes:
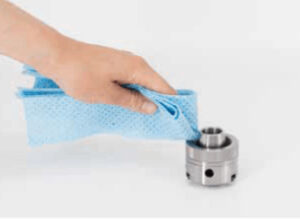
- Clean all contact areas-on ER holder and ER-Hydraulic with a solvent. This is to ensure a good contact surface and minimum run-out.
- Mount the ring nut on the ER holder.
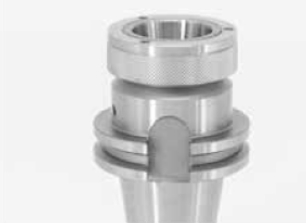
- Mount the ER-Hydraulic into the ER holder. Make sure to reach a good conical contact surface by twisting the parts together.
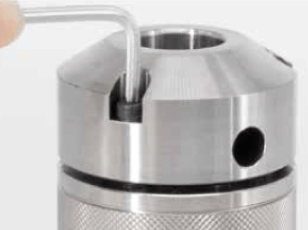
- Adjust the position of the ring nut to fit with the mounting screws. Make sure to leave a gap of approx. 0.5 mm between the ring nut and ER-Hydraulic, which will allow for adjusting of the run-out.
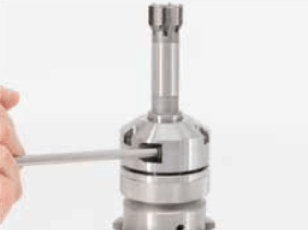
- Apply some thread locking adhesive to the 3 mounting screws (we recommend Loxeal 55-03 or similar). Mount the 3 mounting screws and lightly tighten (Max 5 Nm).
Adjusting and repeatability: When cleaning all surfaces and mounting according to above procedure, a run-out within < 0.020 mm should be reached. lf the run-out is higher than > 0.030 mm we recommend taking the parts apart and re-assemble.
A flexing will occur when adjusting the run-out and releasing the hydraulic pressure but this flexing becomes smaller and smaller. Follow the short instruction below to adjust the run-out of your holder. Mount the reamer in the holder and tighten the pressure screw fully.
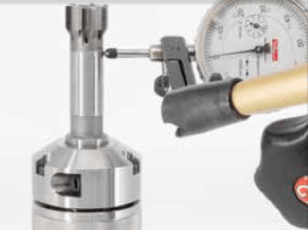
- Set up the holder and check the run-out which should be < 0.020 mm.
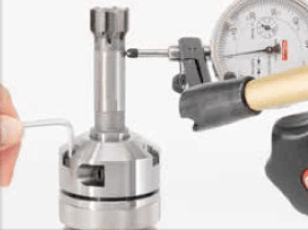
- Adjust the run-out by lightly tightening all screws. In the first run, adjust to about half the original run-out error (no need to spend more time), that is in the case of 0.020 mm run-out adjust to < 0.010 mm.
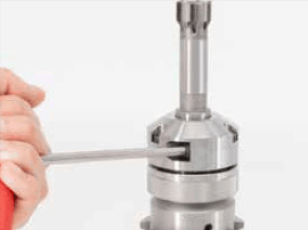
- Release the hydraulic pressure, clamp again and check the run-out
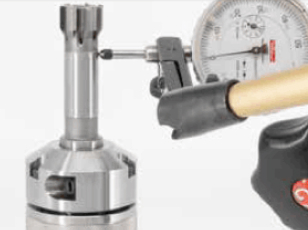
- Adjust the run-out again, release, clamp and check again until you reach your desired run-out. You reach a good repeatability if this is done 2-3 times.
Easy Installation
Diatool’s ER Hydraulic Compensation Chuck installs in minutes:
- Clean all contact areas-on ER holder and ER-Hydraulic with a solvent. This is to ensure a good contact surface and minimum run-out.
- Mount the ring nut on the ER holder.
- Mount the ER-Hydraulic into the ER holder. Make sure to reach a good conical contact surface by twisting the parts together.
- Adjust the position of the ring nut to fit with the mounting screws. Make sure to leave a gap of approx. 0.5 mm between the ring nut and ER-Hydraulic, which will allow for adjusting of the run-out.
- Apply some thread locking adhesive to the 3 mounting screws (we recommend Loxeal 55-03 or similar). Mount the 3 mounting screws and lightly tighten (Max 5 Nm).
Adjusting and repeatability: When cleaning all surfaces and mounting according to above procedure, a run-out within < 0.020 mm should be reached. lf the run-out is higher than > 0.030 mm we recommend taking the parts apart and re-assemble.
A flexing will occur when adjusting the run-out and releasing the hydraulic pressure but this flexing becomes smaller and smaller. Follow the short instruction below to adjust the run-out of your holder. Mount the reamer in the holder and tighten the pressure screw fully.
- Set up the holder and check the run-out which should be < 0.020 mm.
- Adjust the run-out by lightly tightening all screws. In the first run, adjust to about half the original run-out error (no need to spend more time), that is in the case of 0.020 mm run-out adjust to < 0.010 mm.
- Release the hydraulic pressure, clamp again and check the run-out
- Adjust the run-out again, release, clamp and check again until you reach your desired run-out. You reach a good repeatability if this is done 2-3 times.


